For years, I have been moving around an old piano bench I bought years ago- a $10 thrift store find.
Once we were all moved in, it no longer had a functional home as a table (its previous purpose) so I decided to turn it into a vanity 'seat' if you will, for my bathroom. Lots of extra space in there!
Step 1: tighten all the screws :)
Step 2: clean & paint with Krylon Rust-oleum 'Antique Bronze' paint.
Sorry there's no before photo, but it was all originally the light wood color of the seat. You can imagine. Notice the lovely rings from a lack of coaster utilization.
I had no need to paint the whole piece, since I just planned to cover it again anyway. (And I ran out of paint...it must have been meant to be since I had the perfect amount of paint!)
Step 3: Paint a clear top coat over the Bronze color.
Step 4: After this, I drilled the holes which I would later thread buttons through to make the tufts.
Step 5: I used a generic spray adhesive to attach the 1.5" foam padding for the seat. (This I had leftover from the headboard project).
No need to cut these perfectly straight either, since you will pull the fabric taut around it again. I actually pieced mine together, and it worked great. Notice the seam.
Step 6: Just as in the headboard tutorial, I layered the batting over the foam before covering it with fabric.
Step 7: Beginning with the corners, I pulled the fabric taut, and folded the corners smoothly down before stapling with a staple gun into the underside of the bench.
I did detach the actual seat from the frame for the added maneuverability of the upholstery step.
Step 7.5: Alternating sides, I pulled the fabric taut and stapled, until it was smooth to my liking.
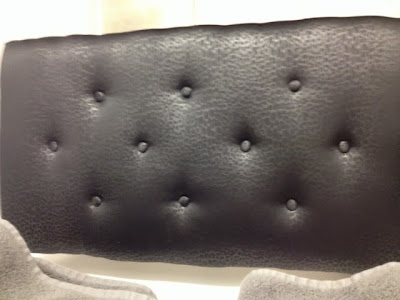
Step 8: Then came the tufting step, which again, I did exactly the same as in my headboard project. (Check it out).
And this is my finished product!
I'm very pleased with the way this turned out. The bench can live as a bench again and makes my master bath a little bit more luxurious!


No comments:
Post a Comment